
Knitting copper wire with a knitting spool and steel crochet hook. (photo: Chris Kafader)
In my opinion, the hardest part of spool knitting with wire is finding an appropriate knitting spool. There are commercial versions available (also called French Knitters, or Knitting Nellies), but I prefer to make my own, so that I have control over how many pins I use, and how far they are from the central hole. If you drill your own central hole, you can also control how big that is, and thus control the diameter of your knitted chain.
The wood spools I use come from a doll house supply company in bags of 25, but you can also simply drill a hole in a short piece of broom stick, tree branch or other dowel, as long as it has enough girth to accommodate the center hole and leave enough thickness for the pins not to split the wood.
As always, you will need a few tools and supplies, and one of those is something you’ll want to print out before you head into the studio. The “Circle Divider” pictured below is something that metalsmithing luminary Tim McCreight has generously made available for free in the Resources section of his Brymorgen Press web site. Here’s the direct link: http://www.brynmorgen.com/toolbox/CircleDividerHandout.pdf

You’ll also definitely need a hammer, which was apparently too shy to be included in this photo.
Tools & Supplies
- Dividers
- Pencil
- Hammer
- Ruler
- Mini sanding stick (about 300 grit)
- Circle Divider printout
- Wood spool (or drilled dowel – 3/8″ hole, or about 10mm)
- 3-6 Finishing nails (1″ long and #17, 0.054″ or 1.372mm)
The minimum number of pins needed is 3, the maximum number depends on how big the center hole is. For a 3/8″ center hole I find the maximum is 6, if you are using 24ga or 26ga wire (AWG) for the knitting.
Construction Steps:
1) Open your dividers to 1/8″ (3mm) and scribe a line around the center hole. This line marks how far away from the center hole the pins will be. You want all the pins to be the same distance from the edge of the hole in order for all the loops to be the same size.

Mark a line for the pins.
2) Center the spool on the Circle Divider. Look down through the center hole to center on the crossed lines, and also make sure that the spool is centered relative to the circles around it.

Circle Divider
3) Choose the number of pins you will be using, and – holding the spool firmly so that it doesn’t move – carefully mark the edge of the spool at those intervals. I chose to make a 5-pin spool for this post, so I am marking all the “5’s”.

Mark positions of pins.
4) Draw a line from the marks on the edge of the spool to the scribed line around the center hole, and hammer a finishing nail into place at each of these intersections. You want these nails to go in straight. If one is leaning a little, grab it with a pair of flat-nose pliers and gently straighten it.

Be sure your nails are straight.
5) Don’t pound the nails in too far! I find that a length of 1cm works well. You do want them all to be the same height, though.
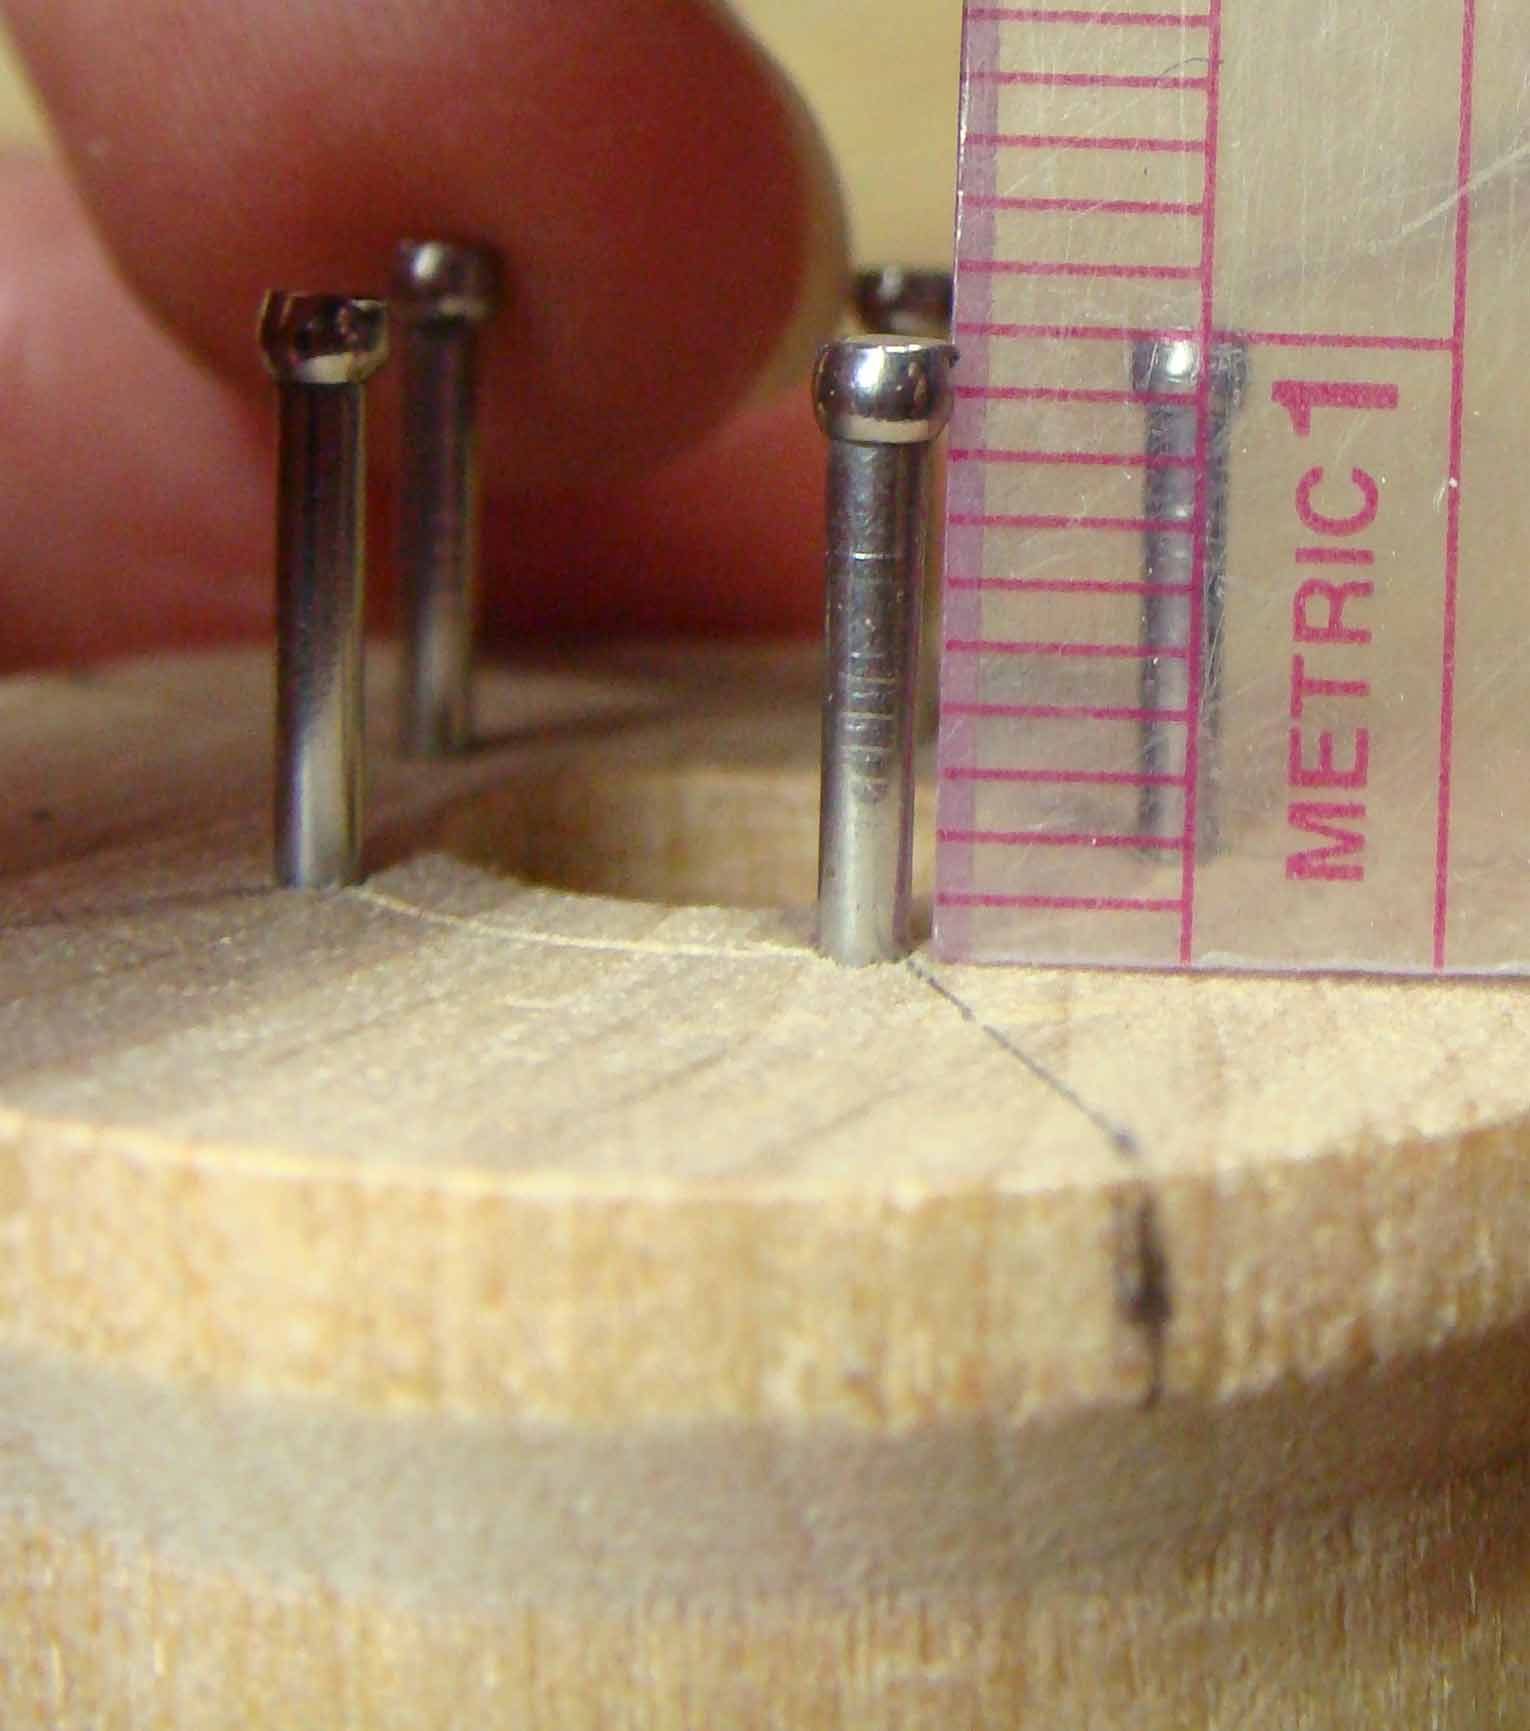
1cm or about 3/8″
6) If there are burs on the tops or sides of the nail heads – either from manufacturing, or from the hammering they’ve been subjected to – gently sand them smooth. Otherwise, these burs may catch on your knitting wire and scratch it.

Smooth nail heads.
Here is what the finished 5-pin spool should like like:


There are a number of ways of constructing a knitted fabric with wire. Several of those, including the popular Viking Knit, result in small twists of wire tucked into the center of the knitted tube. This is because Viking Knit is made from numerous short lengths of wire, each of which must be joined in turn to the work.
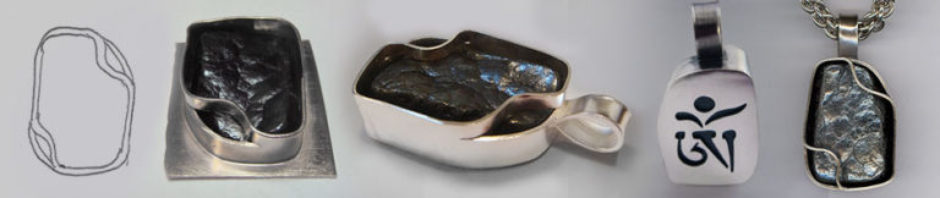
In contrast, when you knit wire with a knitting spool, your knitted tube is constructed from one long piece of wire, and thus is completely hollow. Nature abhors a vacuum, so in the bracelet pictured below the central void is filled with part of a strand of dyed freshwater pearls. The pearls are not just for pretty, though, as their presence also makes the chain less susceptible to being crushed, and therefore more durable, a particularly useful trait in a bracelet.
This is a class project that I teach fairly regularly, and yes, you do get to choose your own pearls!

Spool knit bracelet with freshwater pearls, and custom end cones and clasp.
xo,

P.S. Did a friend forward this post to you? Did you stumble on it by accident? Want to eliminate the element of chance? Click here to get on my direct list.

Wow, thanks for this! I love making tools (and of course using them), and this was easy to make! I was learning how to viking knit on the outside of a dowel, which was pretty difficult, and made my fingertips quite sore. Additionally I didn’t like the constantly having to add a new piece of wire, pretty unsightly. And now I have complete control over the knitting, and with a single piece of wire!
Love your blog, and all the diy tips. This information is invaluable to new jewelers like myself. Thanks!
I’ve only just this evening found your blog with all of these fabulous tips and, might I add, very cool tricks!
I am, personally, so very grateful for artists like yourself, who take the time out of what I am most certain, is a very hectic day to share your knowledge and experience, your insights and understanding of what can seem quite mind blowing, or in some cases absolutely impossible, with those of us that can only hope to be where you are someday!
Thank you with all my heart!
Teri
Thank you, Teri, you are very kind, and quite correct about how much time it requires to put together even one post :)! I’m glad to know you are finding useful information here. Welcome to the Shoebox Tribe.
Really am happy I stumbled on this information. Like Bevin I love Viking knit but hated having to add wire. My question is, can you pull the knitted result through a draw plate for a smaller size.
Hi Stephanie, Yes, you can totally draw a spool knitted chain through a draw plate (wooden or plastic) for a smaller size. I would make a sample in some low cost wire first, and draw that down to see what it looks like. The loops won’t get smaller, they’ll just be crushed down and elongated.
Thank you so much. I’m so excited to try this. A number of years ago I made my Son a Viking knit chain and because I had to add the wire it had all these little poky things so he wouldn’t wear it. Now I can make him one he will wear. Thanks again.
Stephanie
quisiera tenerlo traducido a español.No entiendo bien como se teje el cordon.
Este ‘post’ no incluye instrucciones para tejer el cordón, solo da información sobre la construcción de la herramienta requerida, hecho de un carrete de madera.
Hi Julia, can you tell me how you determine how many nails to put in. I am going for a fine weave to create necklaces from. Thank You, Stephanie
Hi Stephanie, I’m not sure what to tell you, since there are a number of factors that affect the look of the final spool-knitted tube. Since the diameter of the finished knitted tube is determined by the size of the hole in the spool, the relative openness of the knitting can be increased by using finer wire. You are right that the closer the nails are together, the more nails will fit around the hole, and thus the more loops you will have and that will make the weave denser and less open, too. Of course, if you get the nails too close together, you won’t be able to work the knitting off them! When you are finished knitting, you can also drawn the knitted tube through a wooden or plastic drawplate to stretch and compress it (and even it out), which will make it tighter and denser. I guess, really, what I would do is make several different spools and test them with different thicknesses of wire, experimenting until you find the look you want.