
Spinner ring with silver solder inlaid into the copper spinning band.
There is something strangely appealing about metal mosaics, in which different metals are juxtaposed seamlessly into a single smooth surface. Delving deeply into the mystery of that appeal will lead you to exotic techniques like mokume gane, marriage of metals, and damascene. Back on the relatively simple surface of the subject is solder inlay. This technique is fairly straightforward to master, and the fee for its simplicity is paid predominantly in elbow grease.
In the images in this post, I used stamped impressions as the substrate for my inlay, though this is by no means the only way to indent metal. Here are the lists of tools and materials you will want to have on hand in order to duplicate my sample*.
Tools:
- metal stamps
- hammer
- bench block
- rawhide or plastic mallet
- torch & soldering area
- flat hand file
- sanding stick
Materials:
- hard silver solder
- copper
- flux
- pickle
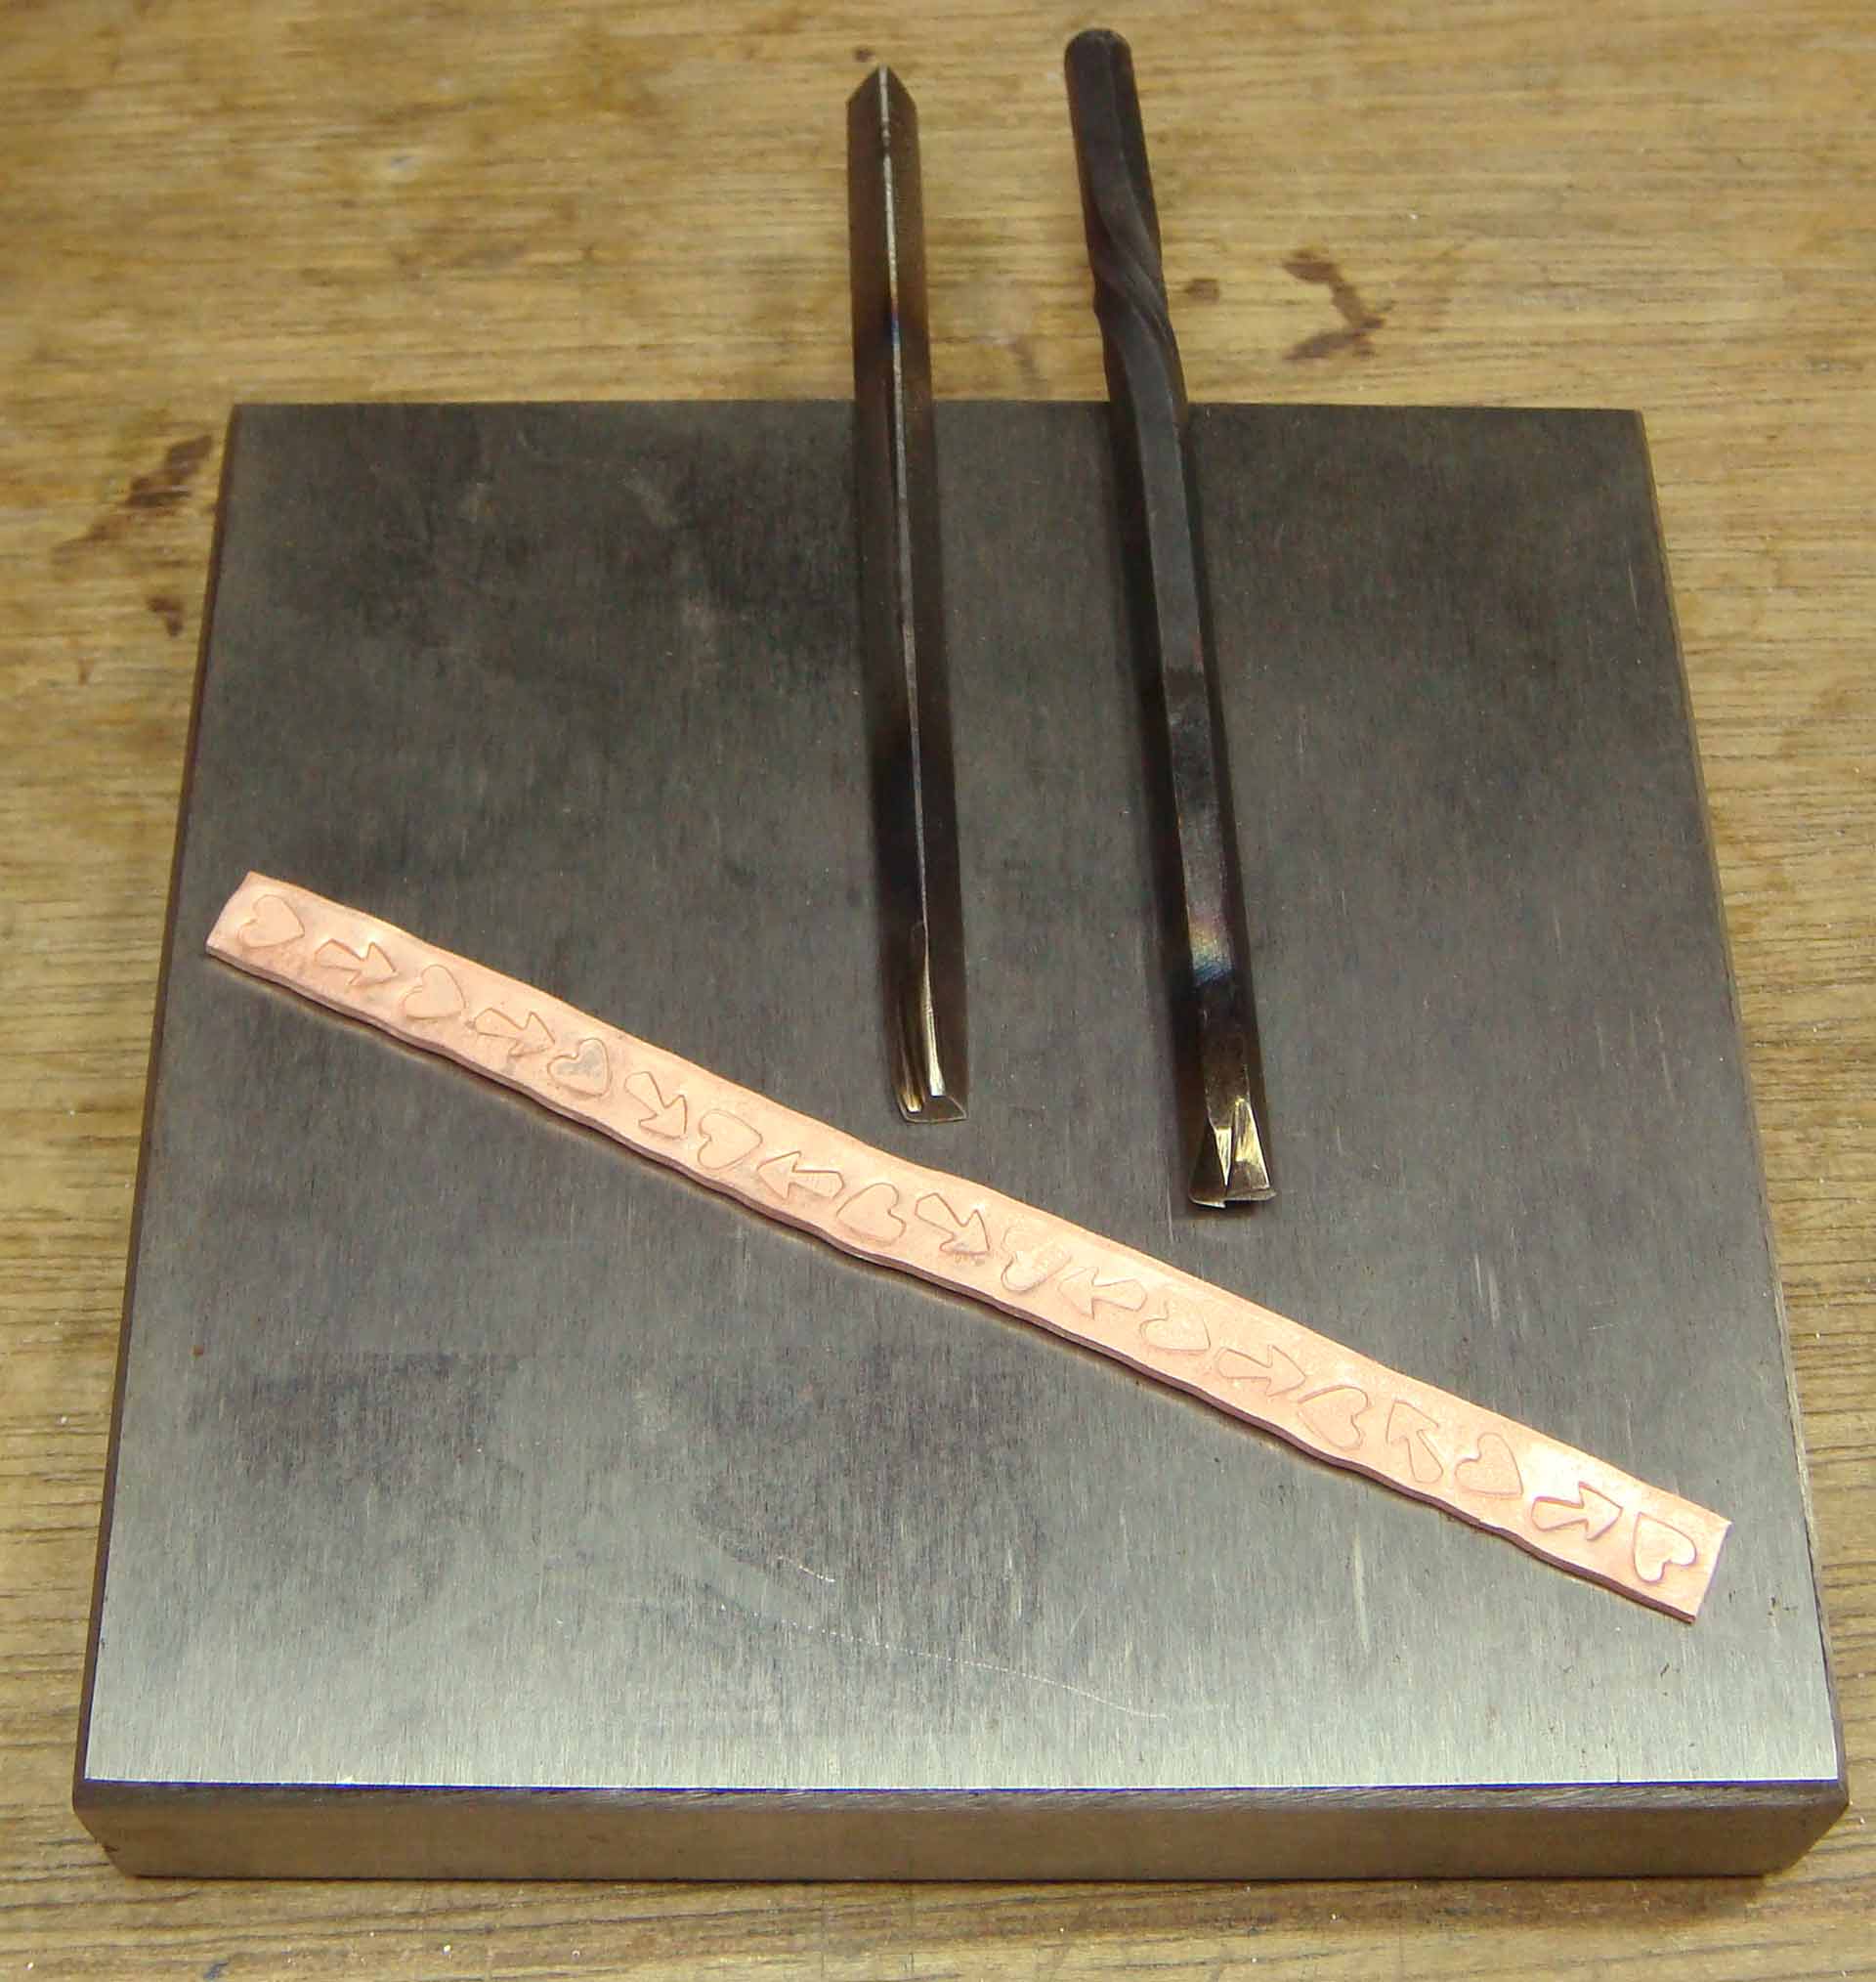
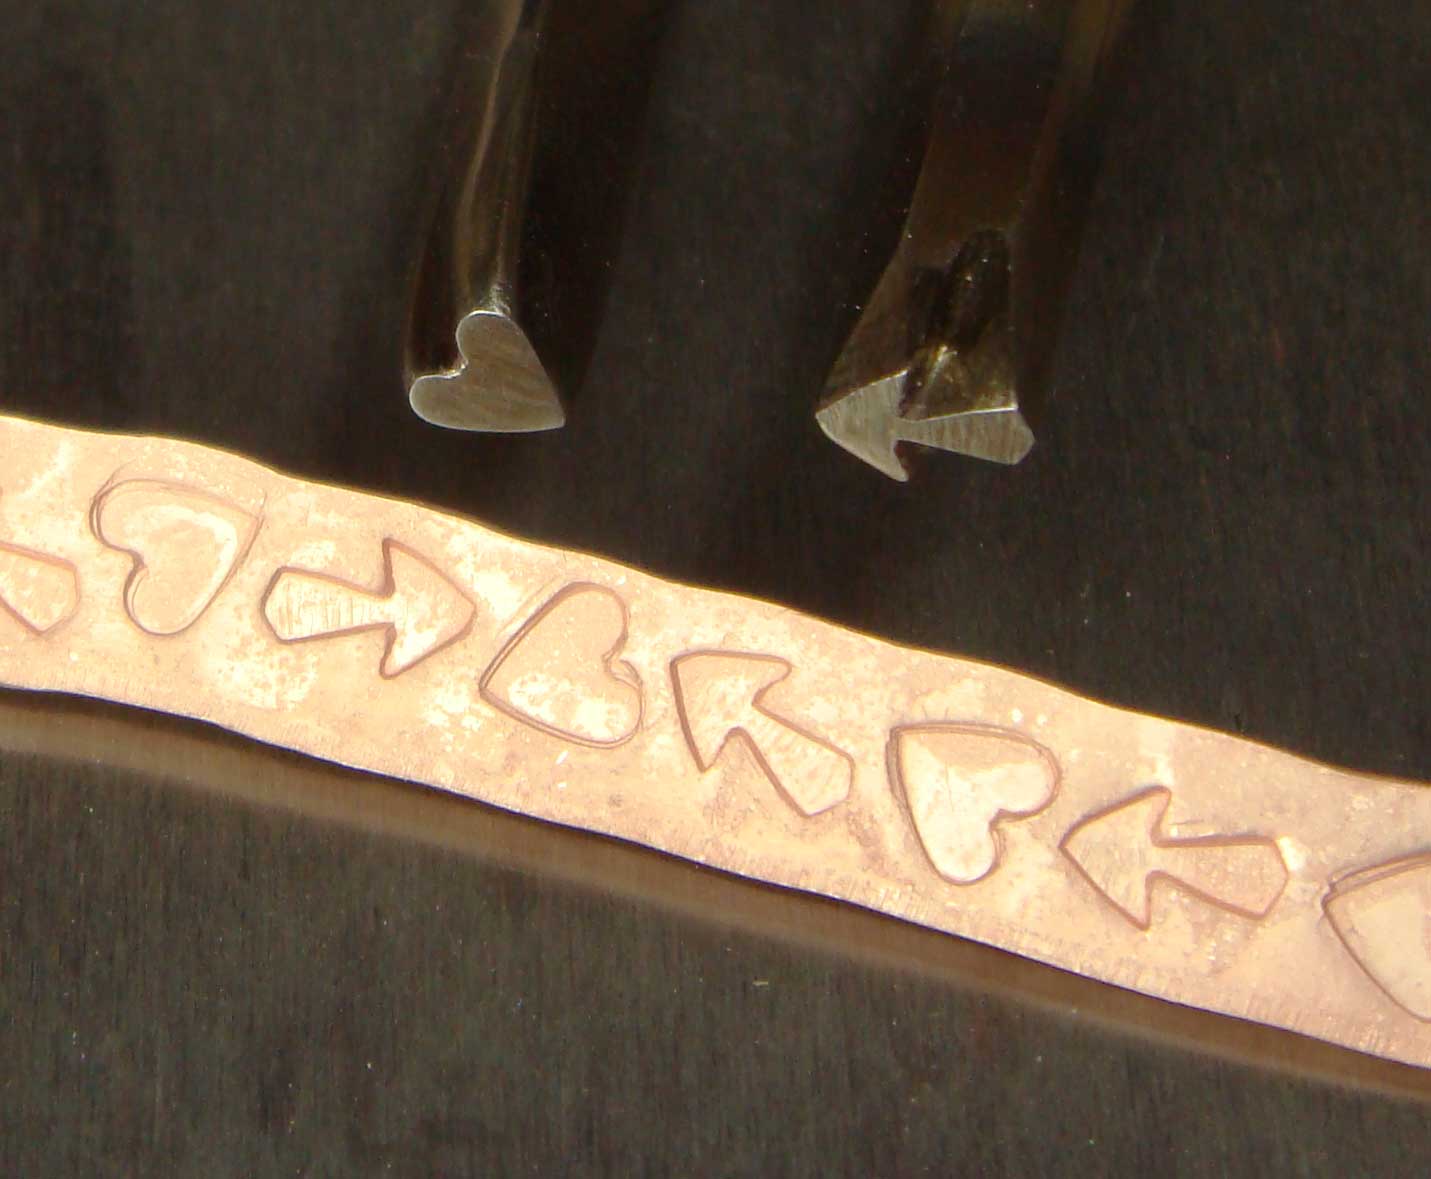
I made these steel heart and arrow stamps as demonstrations in my intermediate Shoebox Studio class. There is immense satisfaction in creating your own stamp, and tempering it so it will last a lifetime :).
Step 1) Anneal, pickle, rinse, and dry your copper thoroughly. Support the metal on a steel bench block and stamp it with words, symbols, numbers or designs. Try to make the depth of the impression the same for each shape/letter/symbol.

Your metal needs to be flat, or solder will not be evenly distributed.
Step 2) During stamping, the metal will probably begin to curl up a bit as it work hardens. Flatten it gently with a rawhide or plastic mallet, otherwise the solder will run away from high areas and pool in low ones.

Before and after melting the solder. Don’t be alarmed by the ugly!
Step 3) Flux the metal and place a LOT of fluxed HARD silver solder in each stamped depression. In the picture above, I used a couple of short lengths of wire solder in each symbol, and this was just barely enough, as you will see in the image below.
Heat the metal until the solder melts, flows and fills all the depressions.

After pickling, inspect for areas not fully filled.
Step 4) Pickle, rinse, and dry your inlay. If there are depressed areas that are not fully flooded, or pitted areas, or shapes with still visible margins (thus not fully filled), flux the metal, add more solder, and melt again. Pickle, rinse, and dry again. (It’s important to pickle and clean the metal well before filing, so that you don’t get pickle, water, or bits of crusty flux on your files, as none of these things is good for steel tools.)
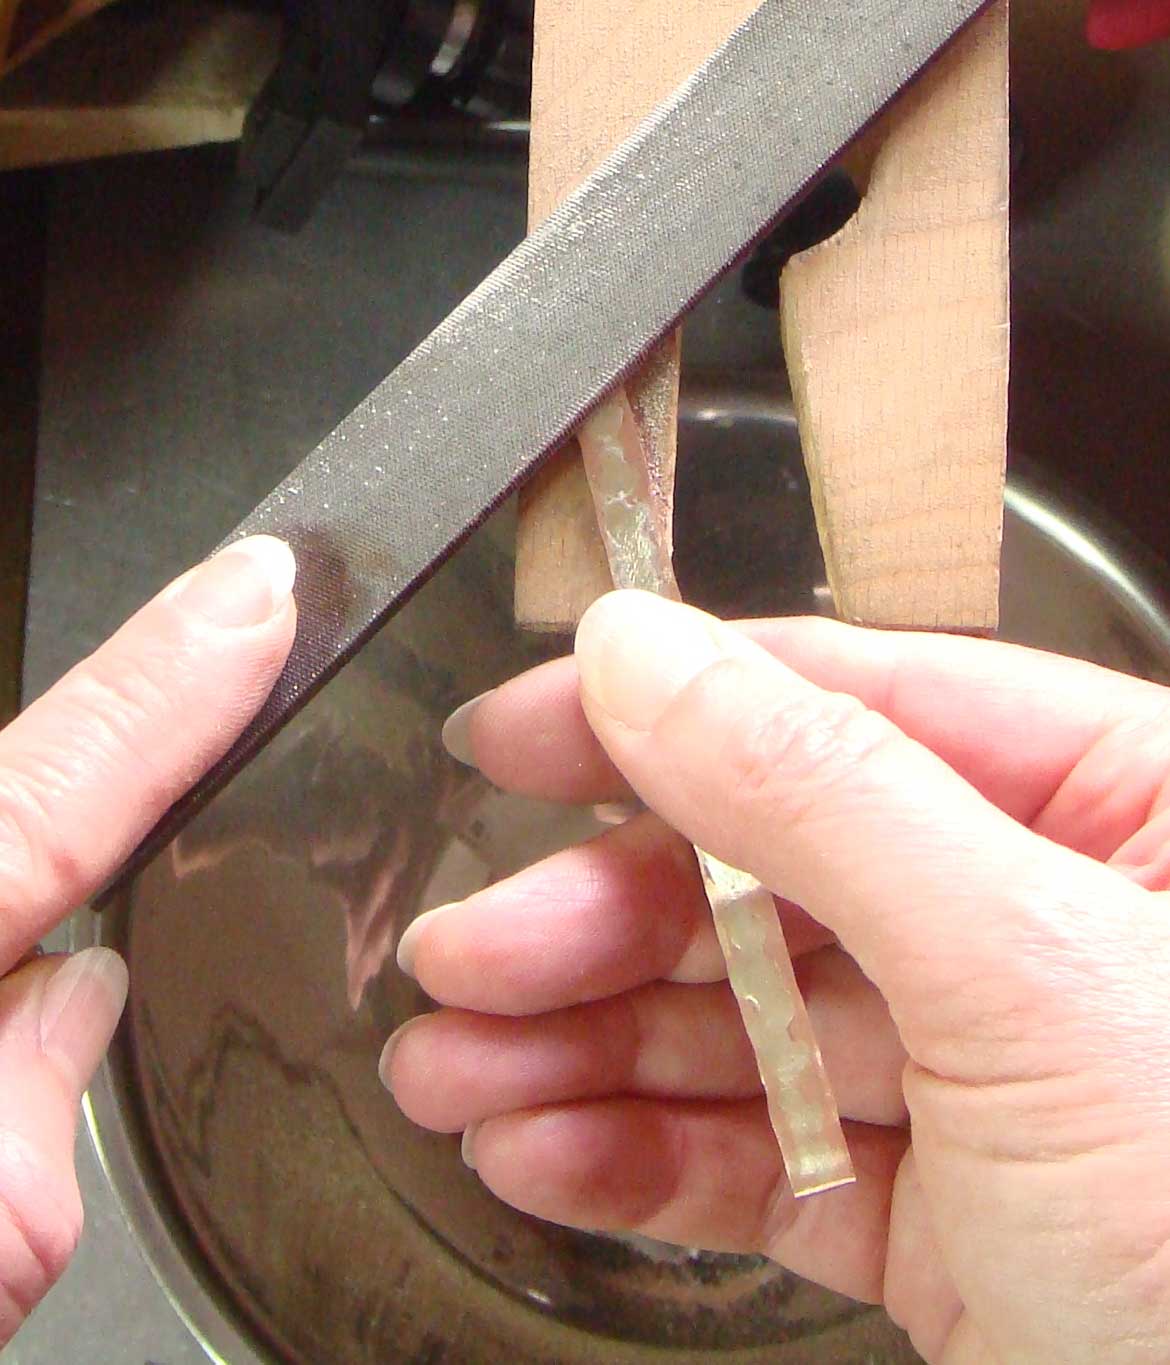
A nice big, coarse, flat hand file is your best friend!
Step 5) File away the bumpy surface of the melted solder until you reveal the parent metal beneath. Keep the surface flat as you work. This filing process will take longer than you think, and the stamped shapes will gradually come into clear focus. You can over-do this step, and file down so far into the metal that you begin to lose parts of the inlay shapes. If that happens, you will have to start over with fresh material, so try not to go too far!
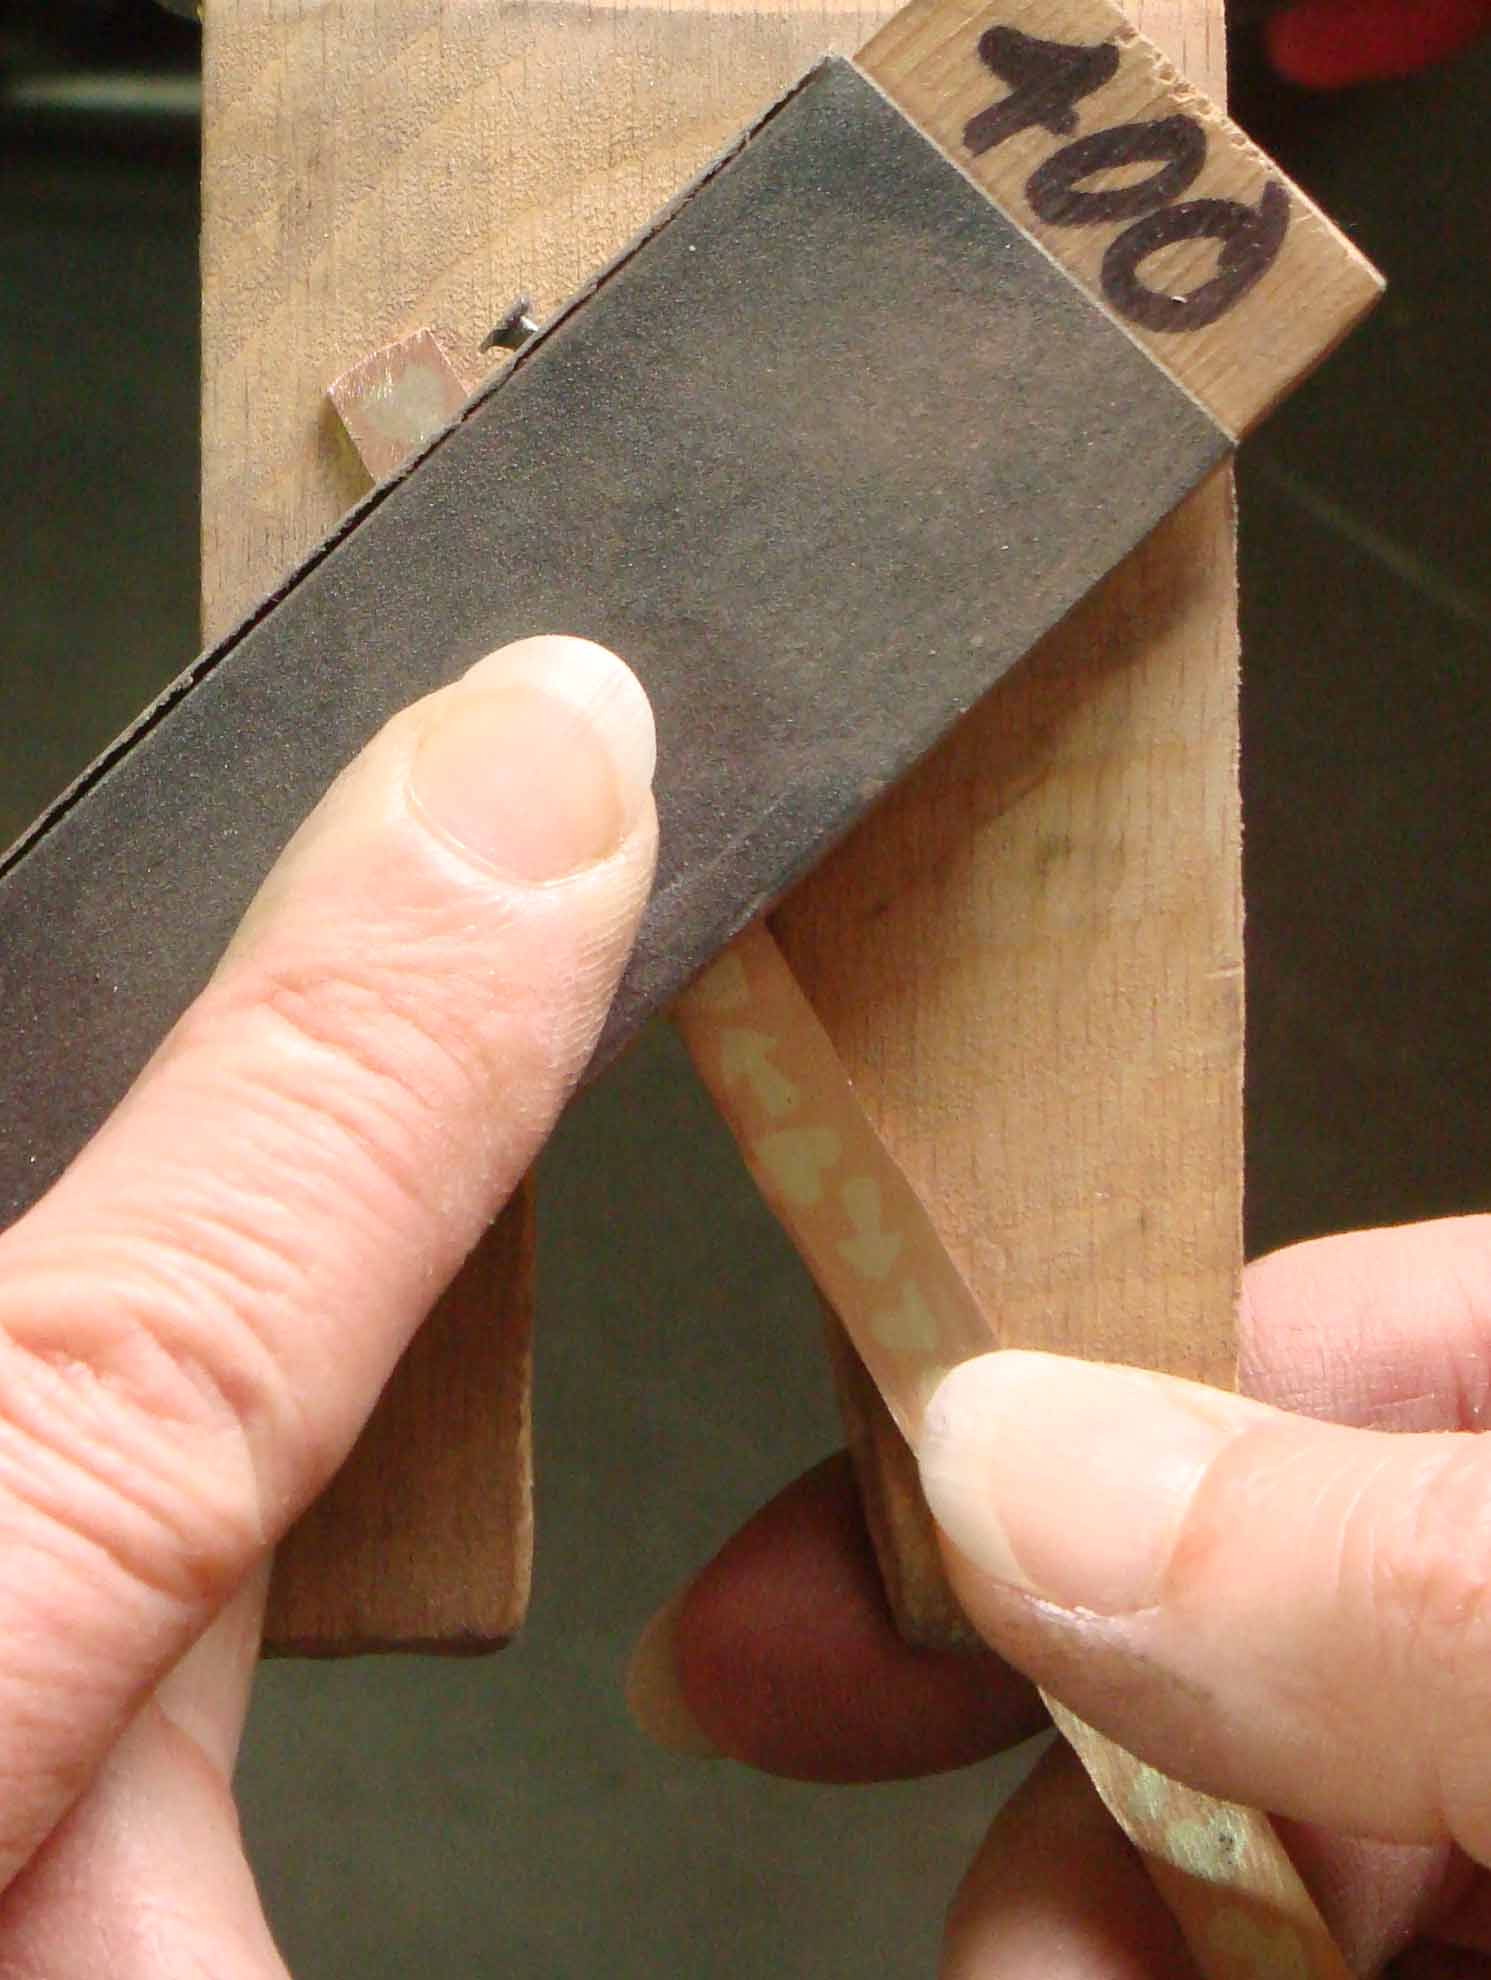
A nice big flat sanding stick is your second best friend.
Step 6) Sand away your file marks, again being careful to keep the surface flat. A matte finish will show the contrast between the inlay and the parent metal best. A shiny finish will actually make it harder to discern the nature of the inlaid shapes.
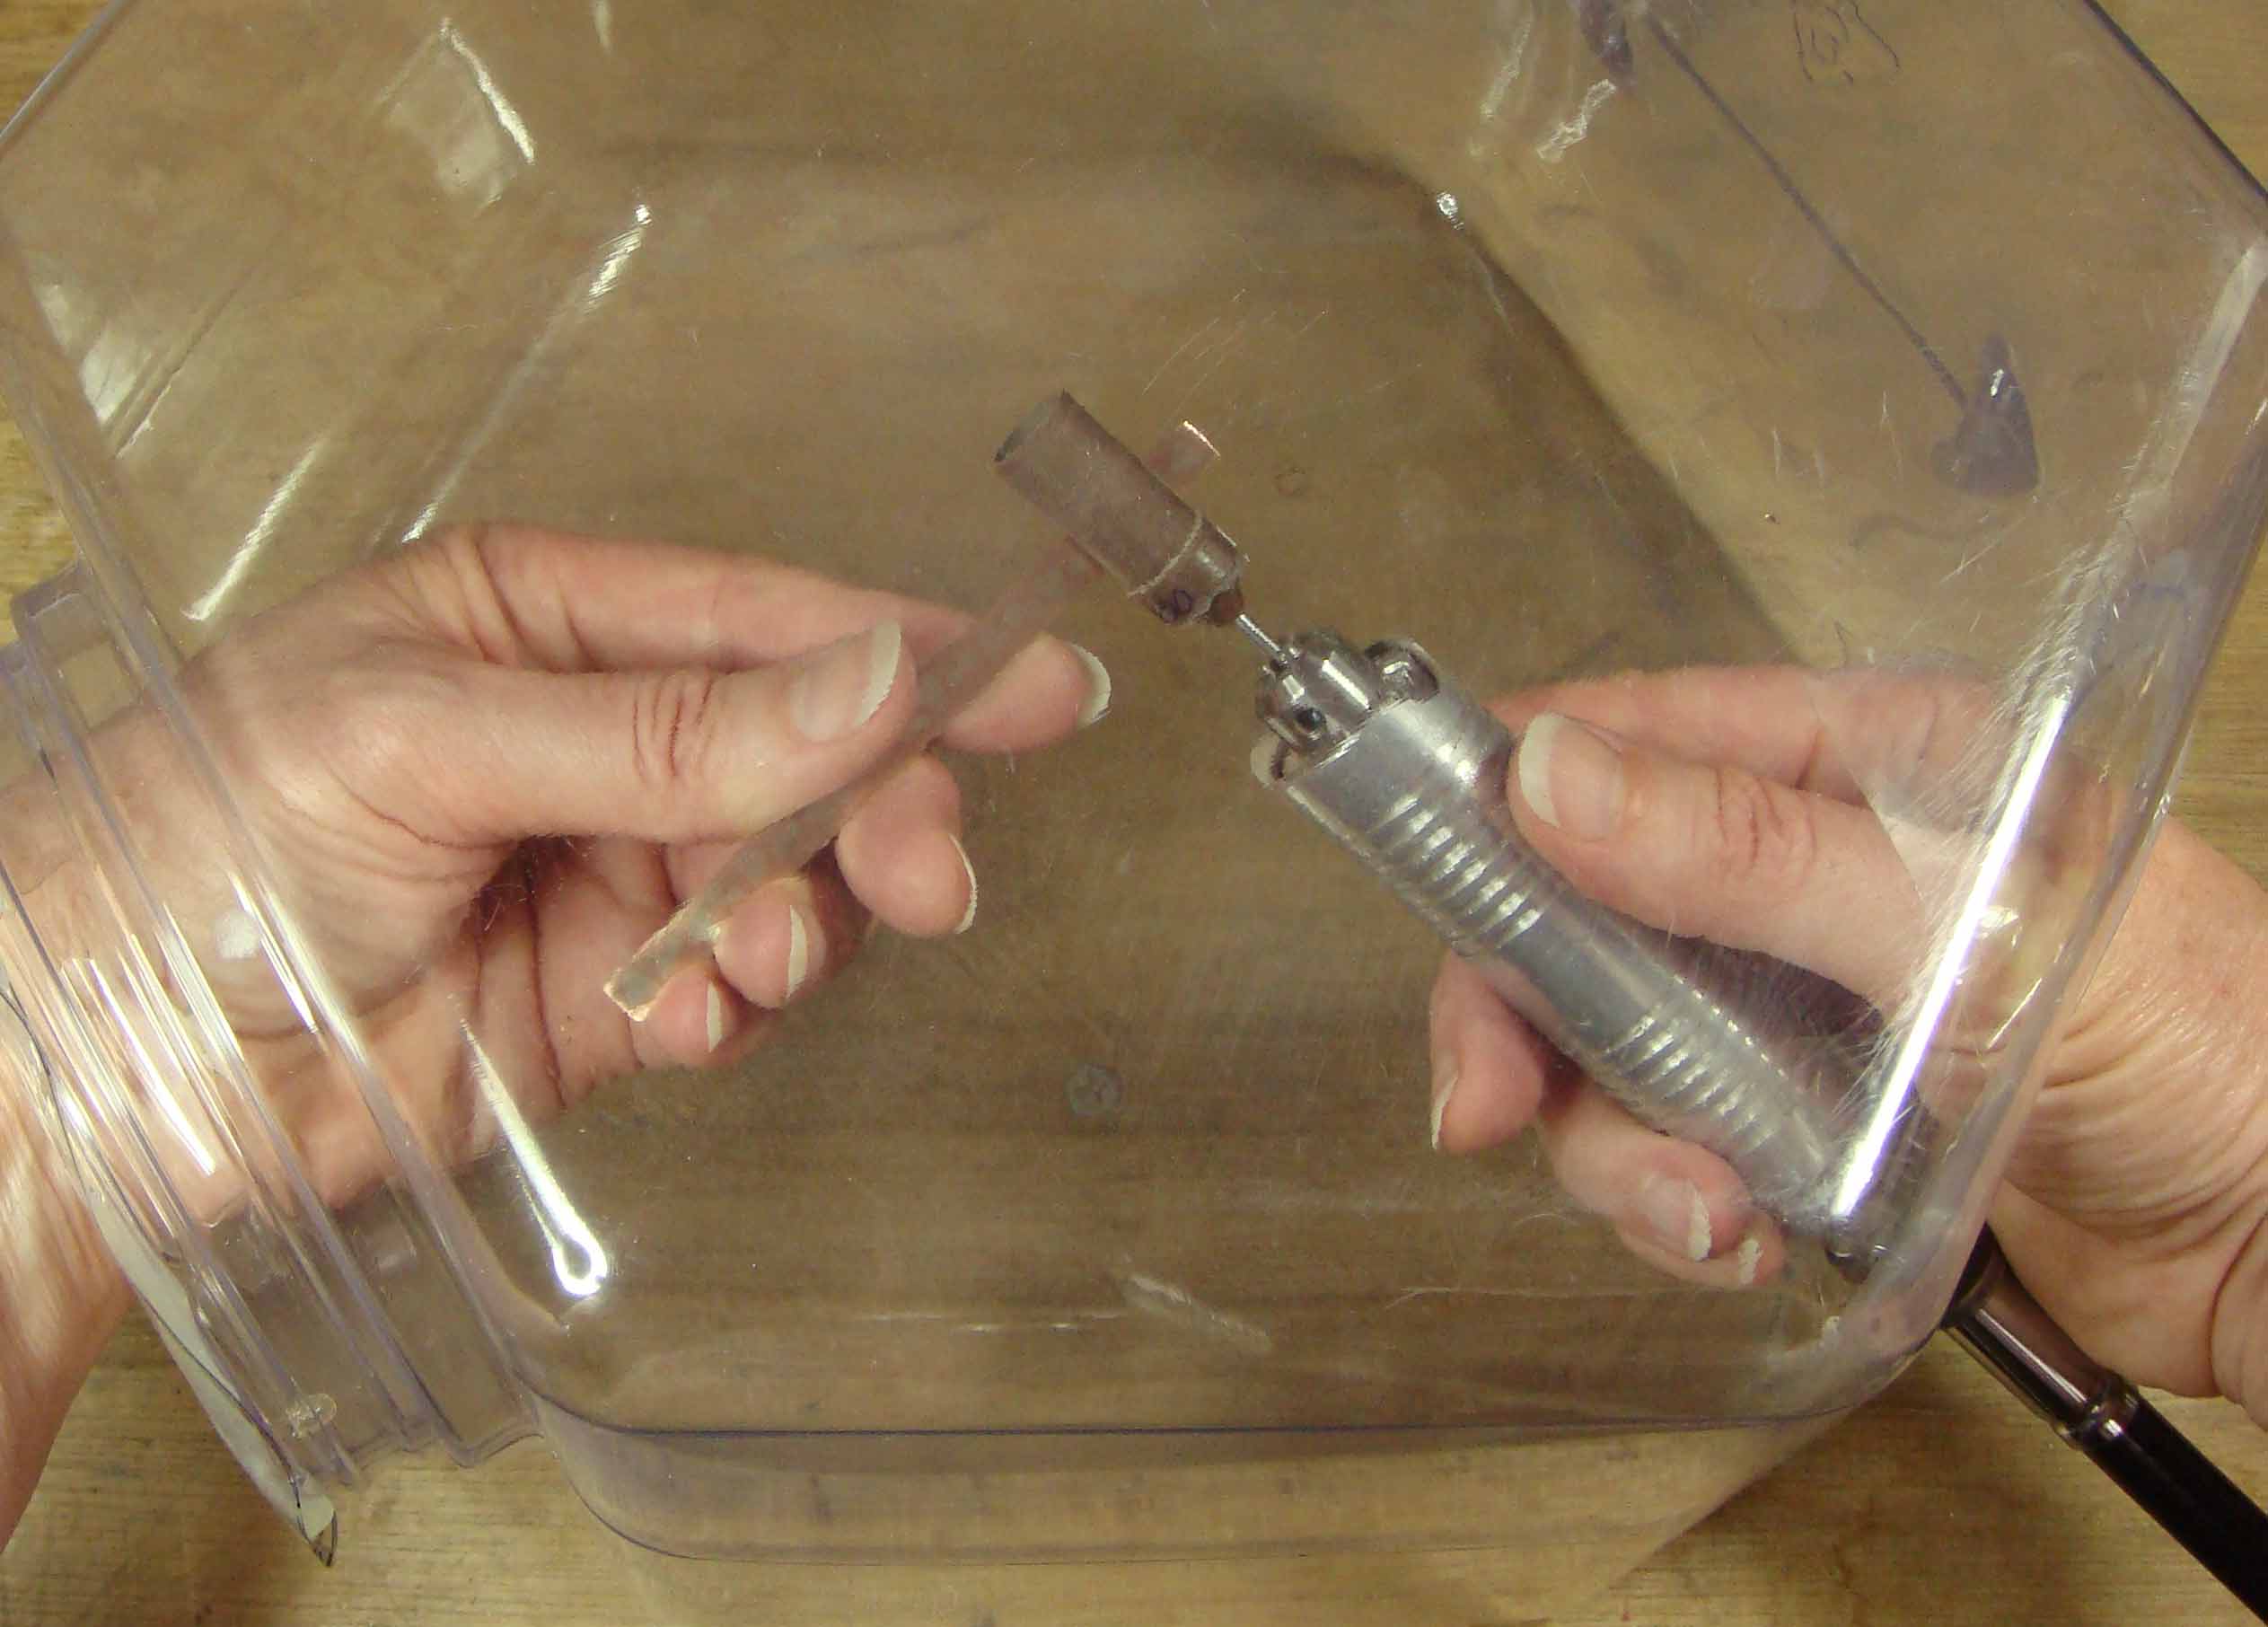
If you use a flex shaft and sanding drum, a lemel trap is useful to keep the debris contained.
If you have a lemel trap, you can use that to contain the flying debris produced by sanding or grinding options undertaken with a flex shaft. I found that for removing the excess solder (step 5), a flat file worked best to get a smooth even surface, as the small rotary tools (used in the flex shaft) tended to leave dips and hollows.
However, the sanding drum in the flex shaft was great for the final matte finish. Just use a light touch.

“Follow Your Heart” – silver solder inlay in copper.
xo,

P.S. Did a friend forward this post to you? Did you stumble on it by accident? Want to eliminate the element of chance? Click here to get on my direct list.
* The stamps used on the spinner ring band were a nail set for the o’s and a stamp created using regular hand files to alter the tip of a 4″ long (20d) nail for the x’s.


Julie ~ you are so wonderful! Thank you for your great tips & creative ideas 🙂 You are so kind & generous!
You are very welcome, Cindi. Glad you are finding my posts useful :).
SOOOOOO Cool!!!!!! Thanks for the great tips along the way!
Love this!!! Stumbled on this site!!!
Welcome! Glad you found me. Tell your friends :).
I love the solder inlay technique. I’ve yet to try it out. Question: would fine silver work in place of silver solder? Could be less chance of tarnish if fine silver were used, no?
Hi Joanne, fine silver tarnishes, too, just not as quickly as solder or sterling. The potential problem with using fine silver is that it’s melting point is so much higher than that of hard silver solder, so it’s relatively close to the melting point of copper (Melting points: copper 1981 F, silver 1761 F, hard silver solder 1365 F). I think you run the risk of having the copper and fine silver melt together to form a puddle of lower melting point alloy (eutectic solder). This puddle would mean that there would no longer be a crisp stamped outline in the copper that you are filling with solder. It’s also possible that the whole thing would just melt into an alloy of copper and silver that’s sort of like Shibuichi (which is 25% silver and 75% copper). Still, try it on some scrap and see what happens :).
Beautiful ring and wonderful technique, Julia!
Can I use this to fill in divots made by errors in sand casting or going too deep with a file to file it out? I wanted to try it in a class where I did my first sand casting and stone setting, but the instructor stopped me. I still wear it, but the gouge in the ring is driving me nuts.
Also, I just tried to sign up for your mailing list, and got a message that the page is not there.
Hi Wendy! I imagine it’s possible to use this technique to repair the errors you describe. I’ve not tried it myself, so I don’t have any personal experience to share with you. I do know that cast silver is much more porous than milled material, so it tends to hoover up solder like a sponge! Do you know if that’s why your instructor advised against using this technique? Or perhaps because there was already a stone set in the ring? To add solder, you’d probably have to have the ring free of stones.
I’m sorry you had trouble signing up for my mailing list. I checked the page, and all seems to be in order, so would you give it another try?
Best, Julia